Warning
Raising the vehicle to change a wheel
Changing a wheel requires that you raise the wheel off the ground. Carefully follow the separate instructions for raising the vehicle safely.
- If you are changing a wheel in or close to traffic, make sure you and the vehicle are clearly visible to others. Activate the hazard warning flasher, put out a warning triangle in a visible but safe place and wear a reflective vest.
- Designate a safe space for passengers to wait, away from both the vehicle and traffic.
- You are responsible for safety around the vehicle while it is raised. Do not allow people inside or close to the vehicle.
- Never get under the vehicle or let anyone reach under it with any part of their body while it is raised with a jack.
Before removing the wheel
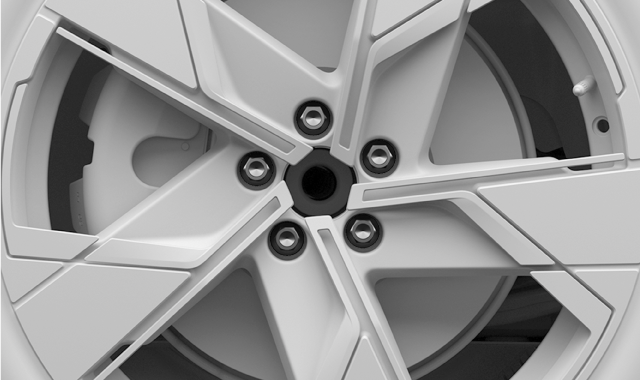
The wheels on your vehicle are fastened with wheel bolts. For extra security, you can use lockable bolts.
Removing the wheel
Tip
Mounting the wheel
Warning
- The front and rear wheels are different sizes. Make sure you put them on the correct axle. Incorrectly mounted wheels can affect the vehicle's handling.
- Never use lubricant on the wheel fastener threads. This could cause the wheel fasteners to loosen after tightening.
Fasten the fasteners crosswise. If you are using lockable bolts, finish with those.
It's very important to secure the fasteners properly. Tighten to 140 Nm (103 lb-ft). Check the tightening torque with a torque wrench. Over-tightened or loosely tightened fasteners may damage the fastening threads or the wheel itself.

Warning
Check the wheel fasteners
The wheel fasteners may need to be re-tightened a few days after the wheel has been changed. Temperature differences and vibrations may cause them to loosen.
Wheel properties after a wheel change
Be attentive to signs of incorrectly mounted wheels. This could affect the vehicle's braking characteristics and the ability to deflect rain and slush.
When you have changed the type or size of the wheels, you should drive carefully at first. The dynamics and driving characteristics of the wheels may have changed.